How I Edit Outdoor Dog Photos to Create Cinematic Portraits
Follow the exact editing workflow I use to transform a RAW image into a finished portrait.
Many photographers have bought presets hoping they would instantly transform their photos. But presets rarely work the way we expect.
You still end up adjusting exposure, colour, contrast, and trying to make the image look right. The real difference comes from understanding the workflow behind the edit.
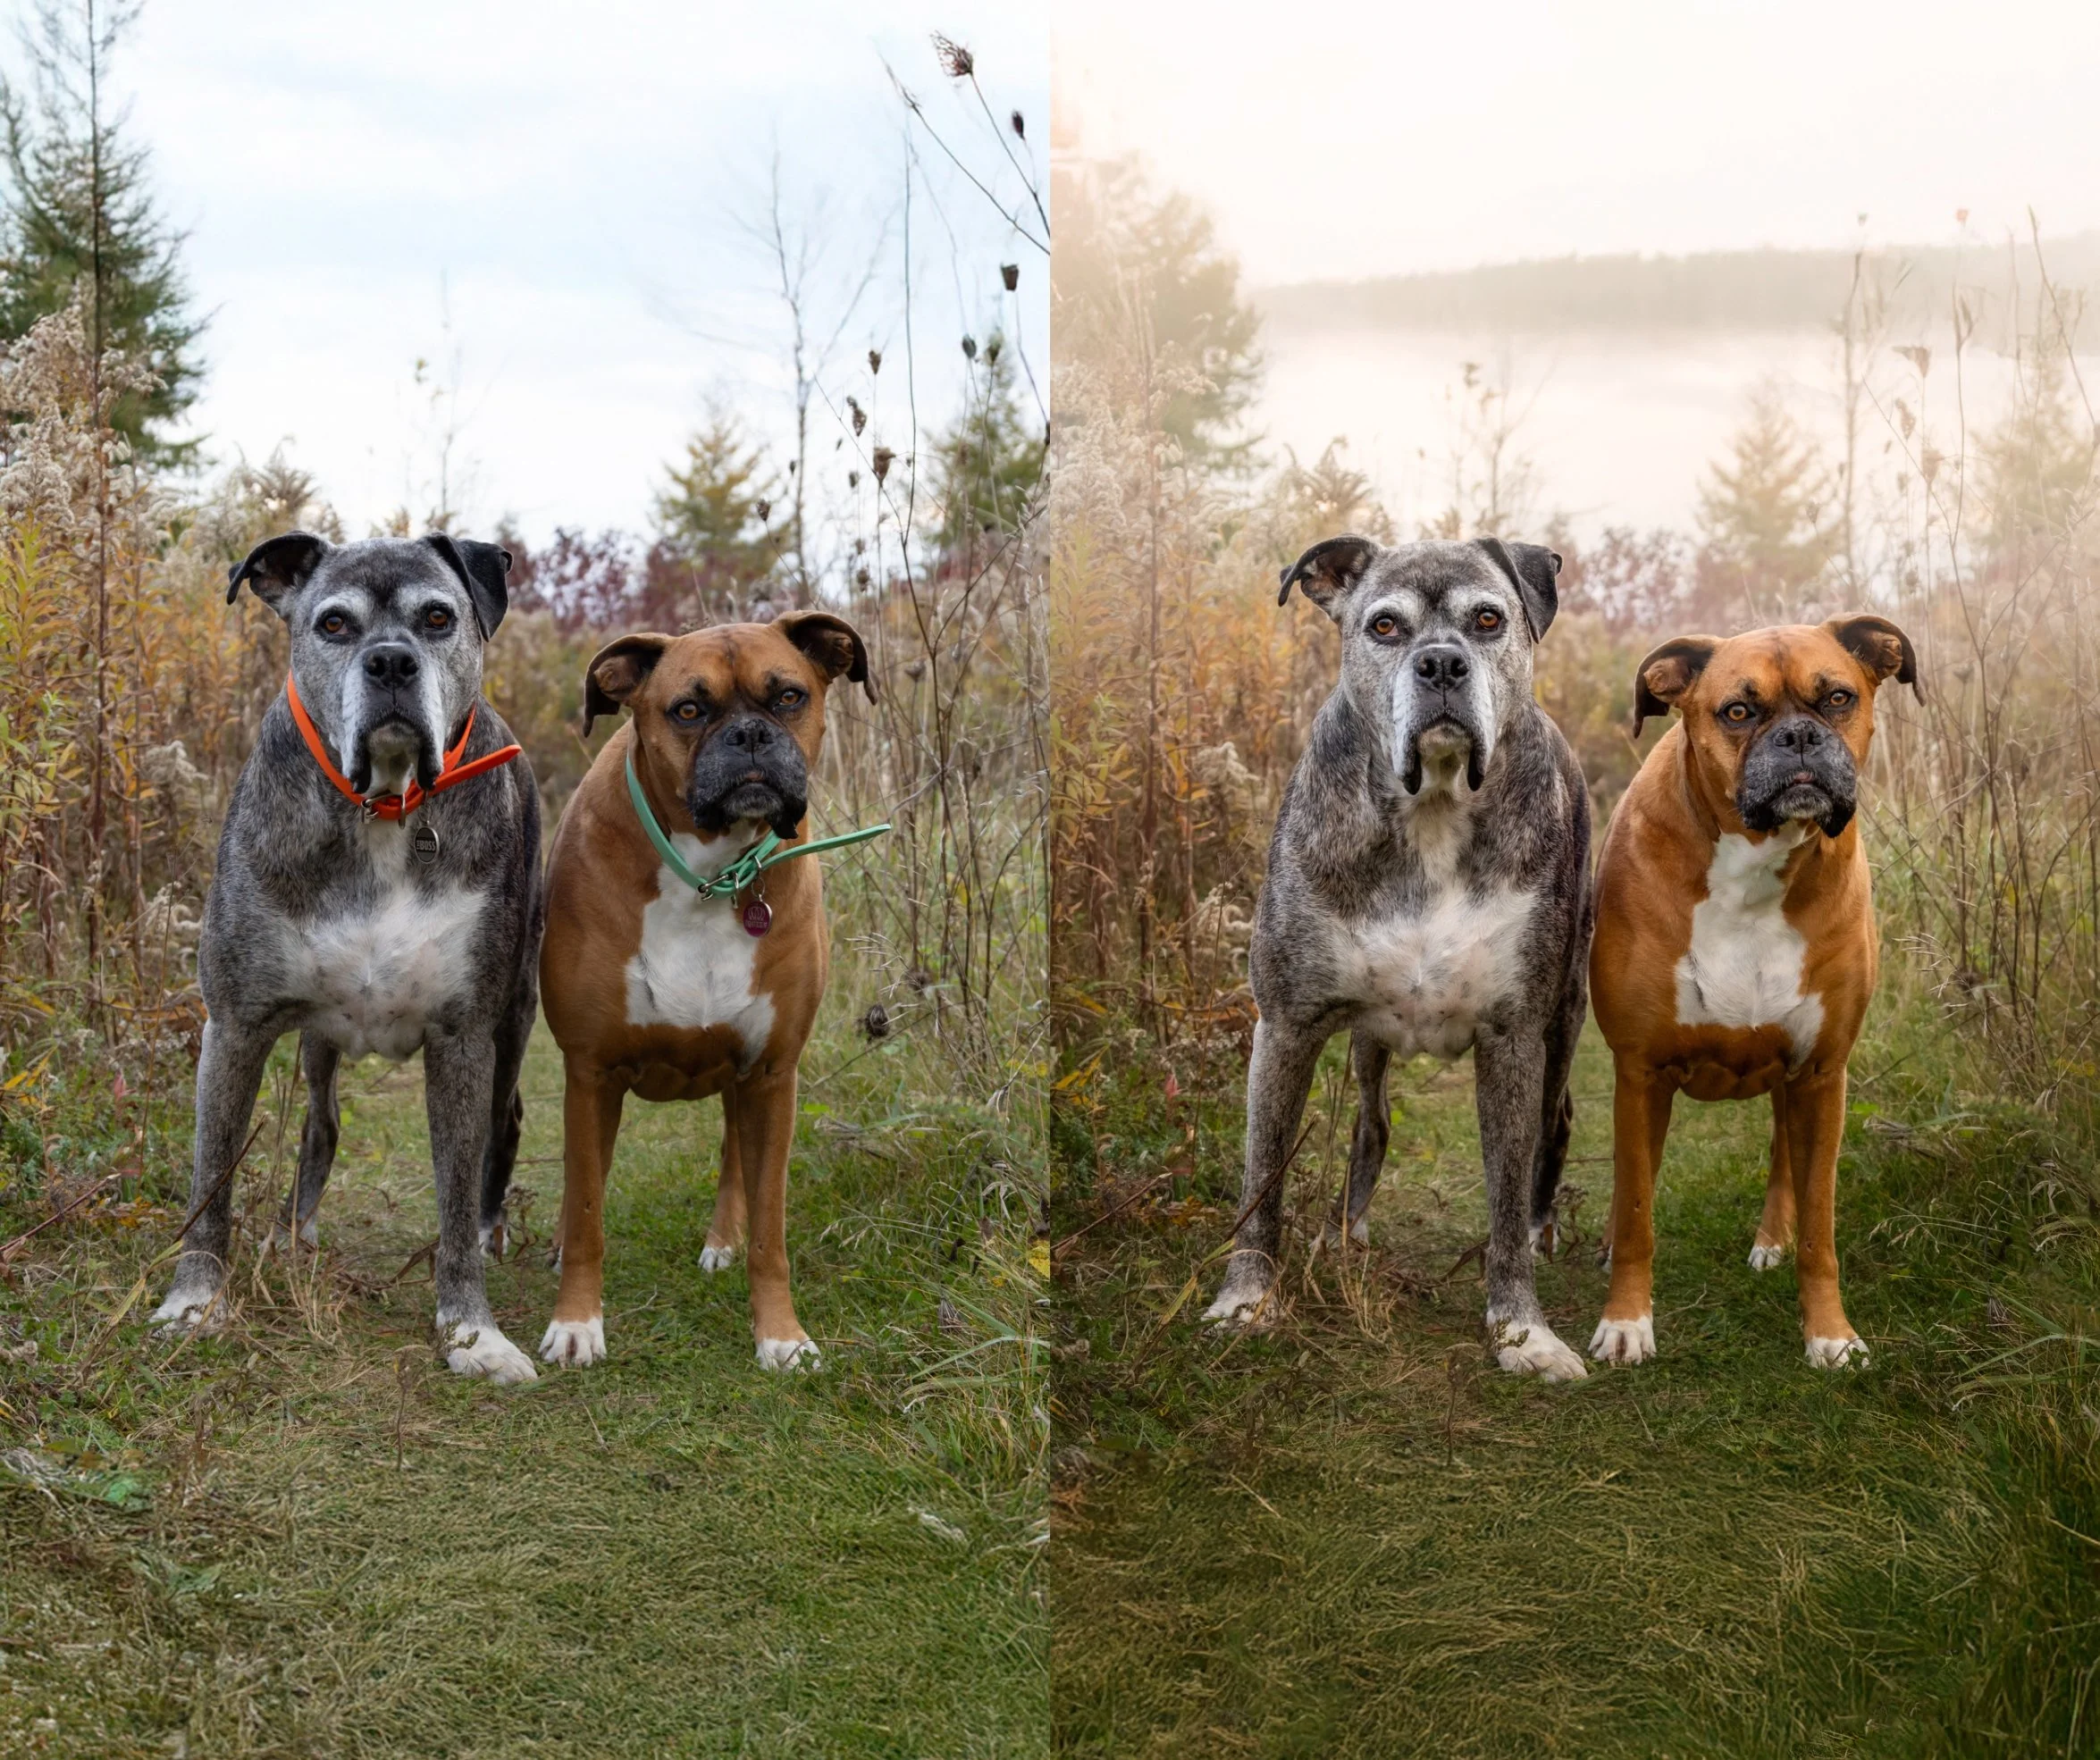
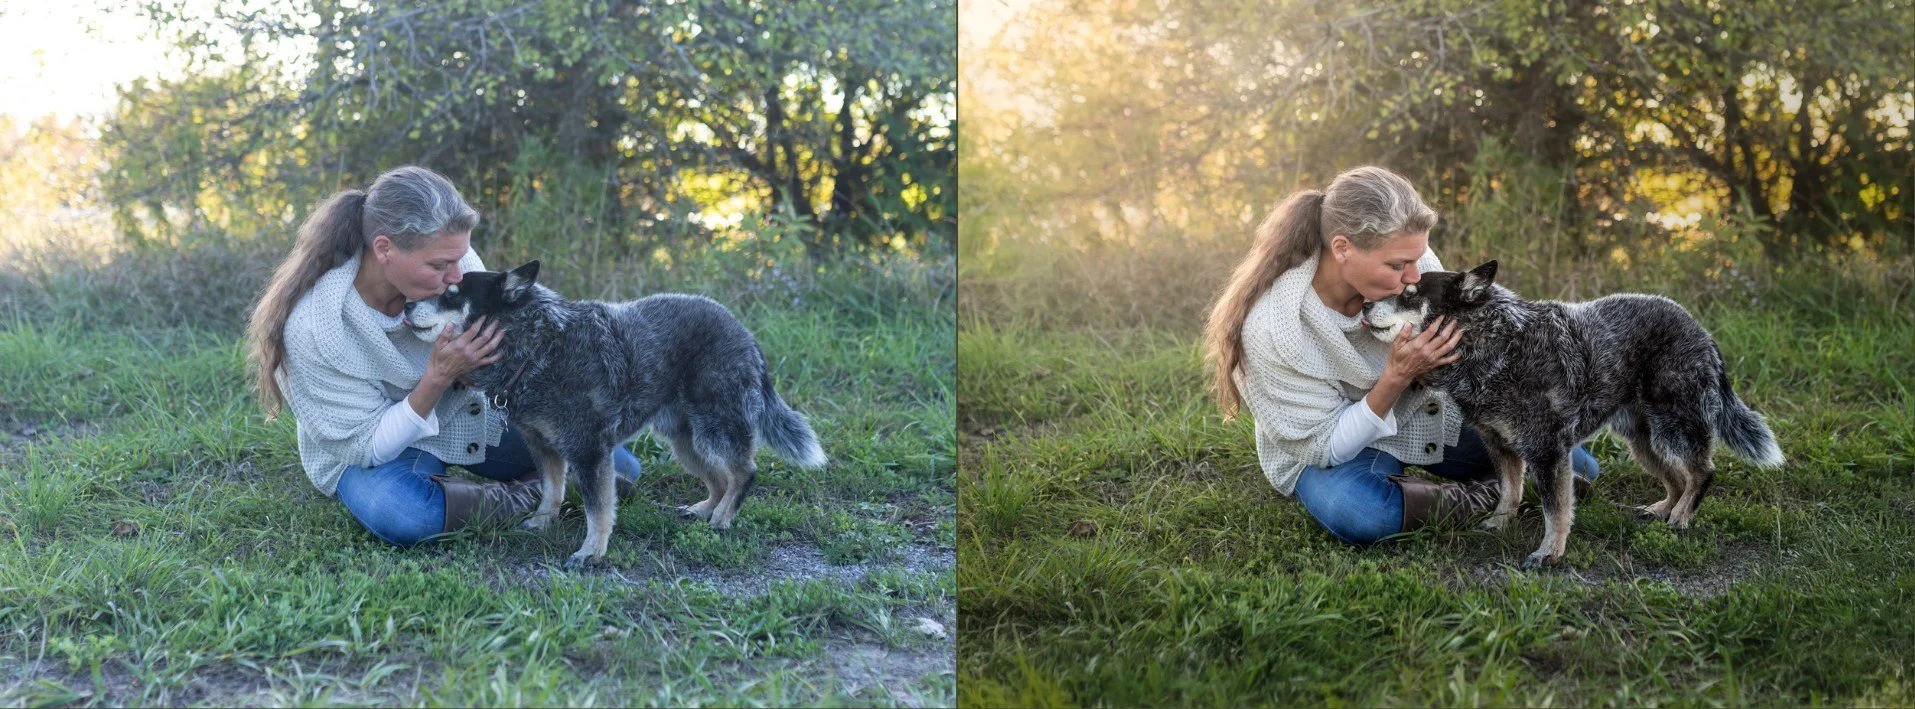
In this tutorial, I walk through the exact process I use to turn a RAW outdoor photo into a cinematic portrait.
My workflow is simple, repeatable, and can be applied to your own images again and again.
The full tutorial walks through the complete editing workflow step by step.
Preview the editing tutorial
Inside this tutorial you'll see:
• 2 Editing tutorials - the complete editing workflow I use for my outdoor dog portraits, from RAW image to finished portrait
• the 2 RAW files so you can follow along and practice the process yourself
• BONUS: my client preparation guide to help your clients get ready for their portrait session
Instant access after purchase
Who This Is For
• photographers who want to improve their outdoor portraits
• beginners to intermediate photographers
• basic familiarity with Photoshop or Lightroom recommended
“Vicky has a very natural way of explaining her process. Her approach to editing, lighting and working with dogs is refreshingly simple and practical. Photographers looking to learn or strengthen their dog portraits will appreciate how approachable and genuine her teaching style is.”
— Jack Jackson - Jack Jackson Photography, Toronto

Other Tutorials for Photographers
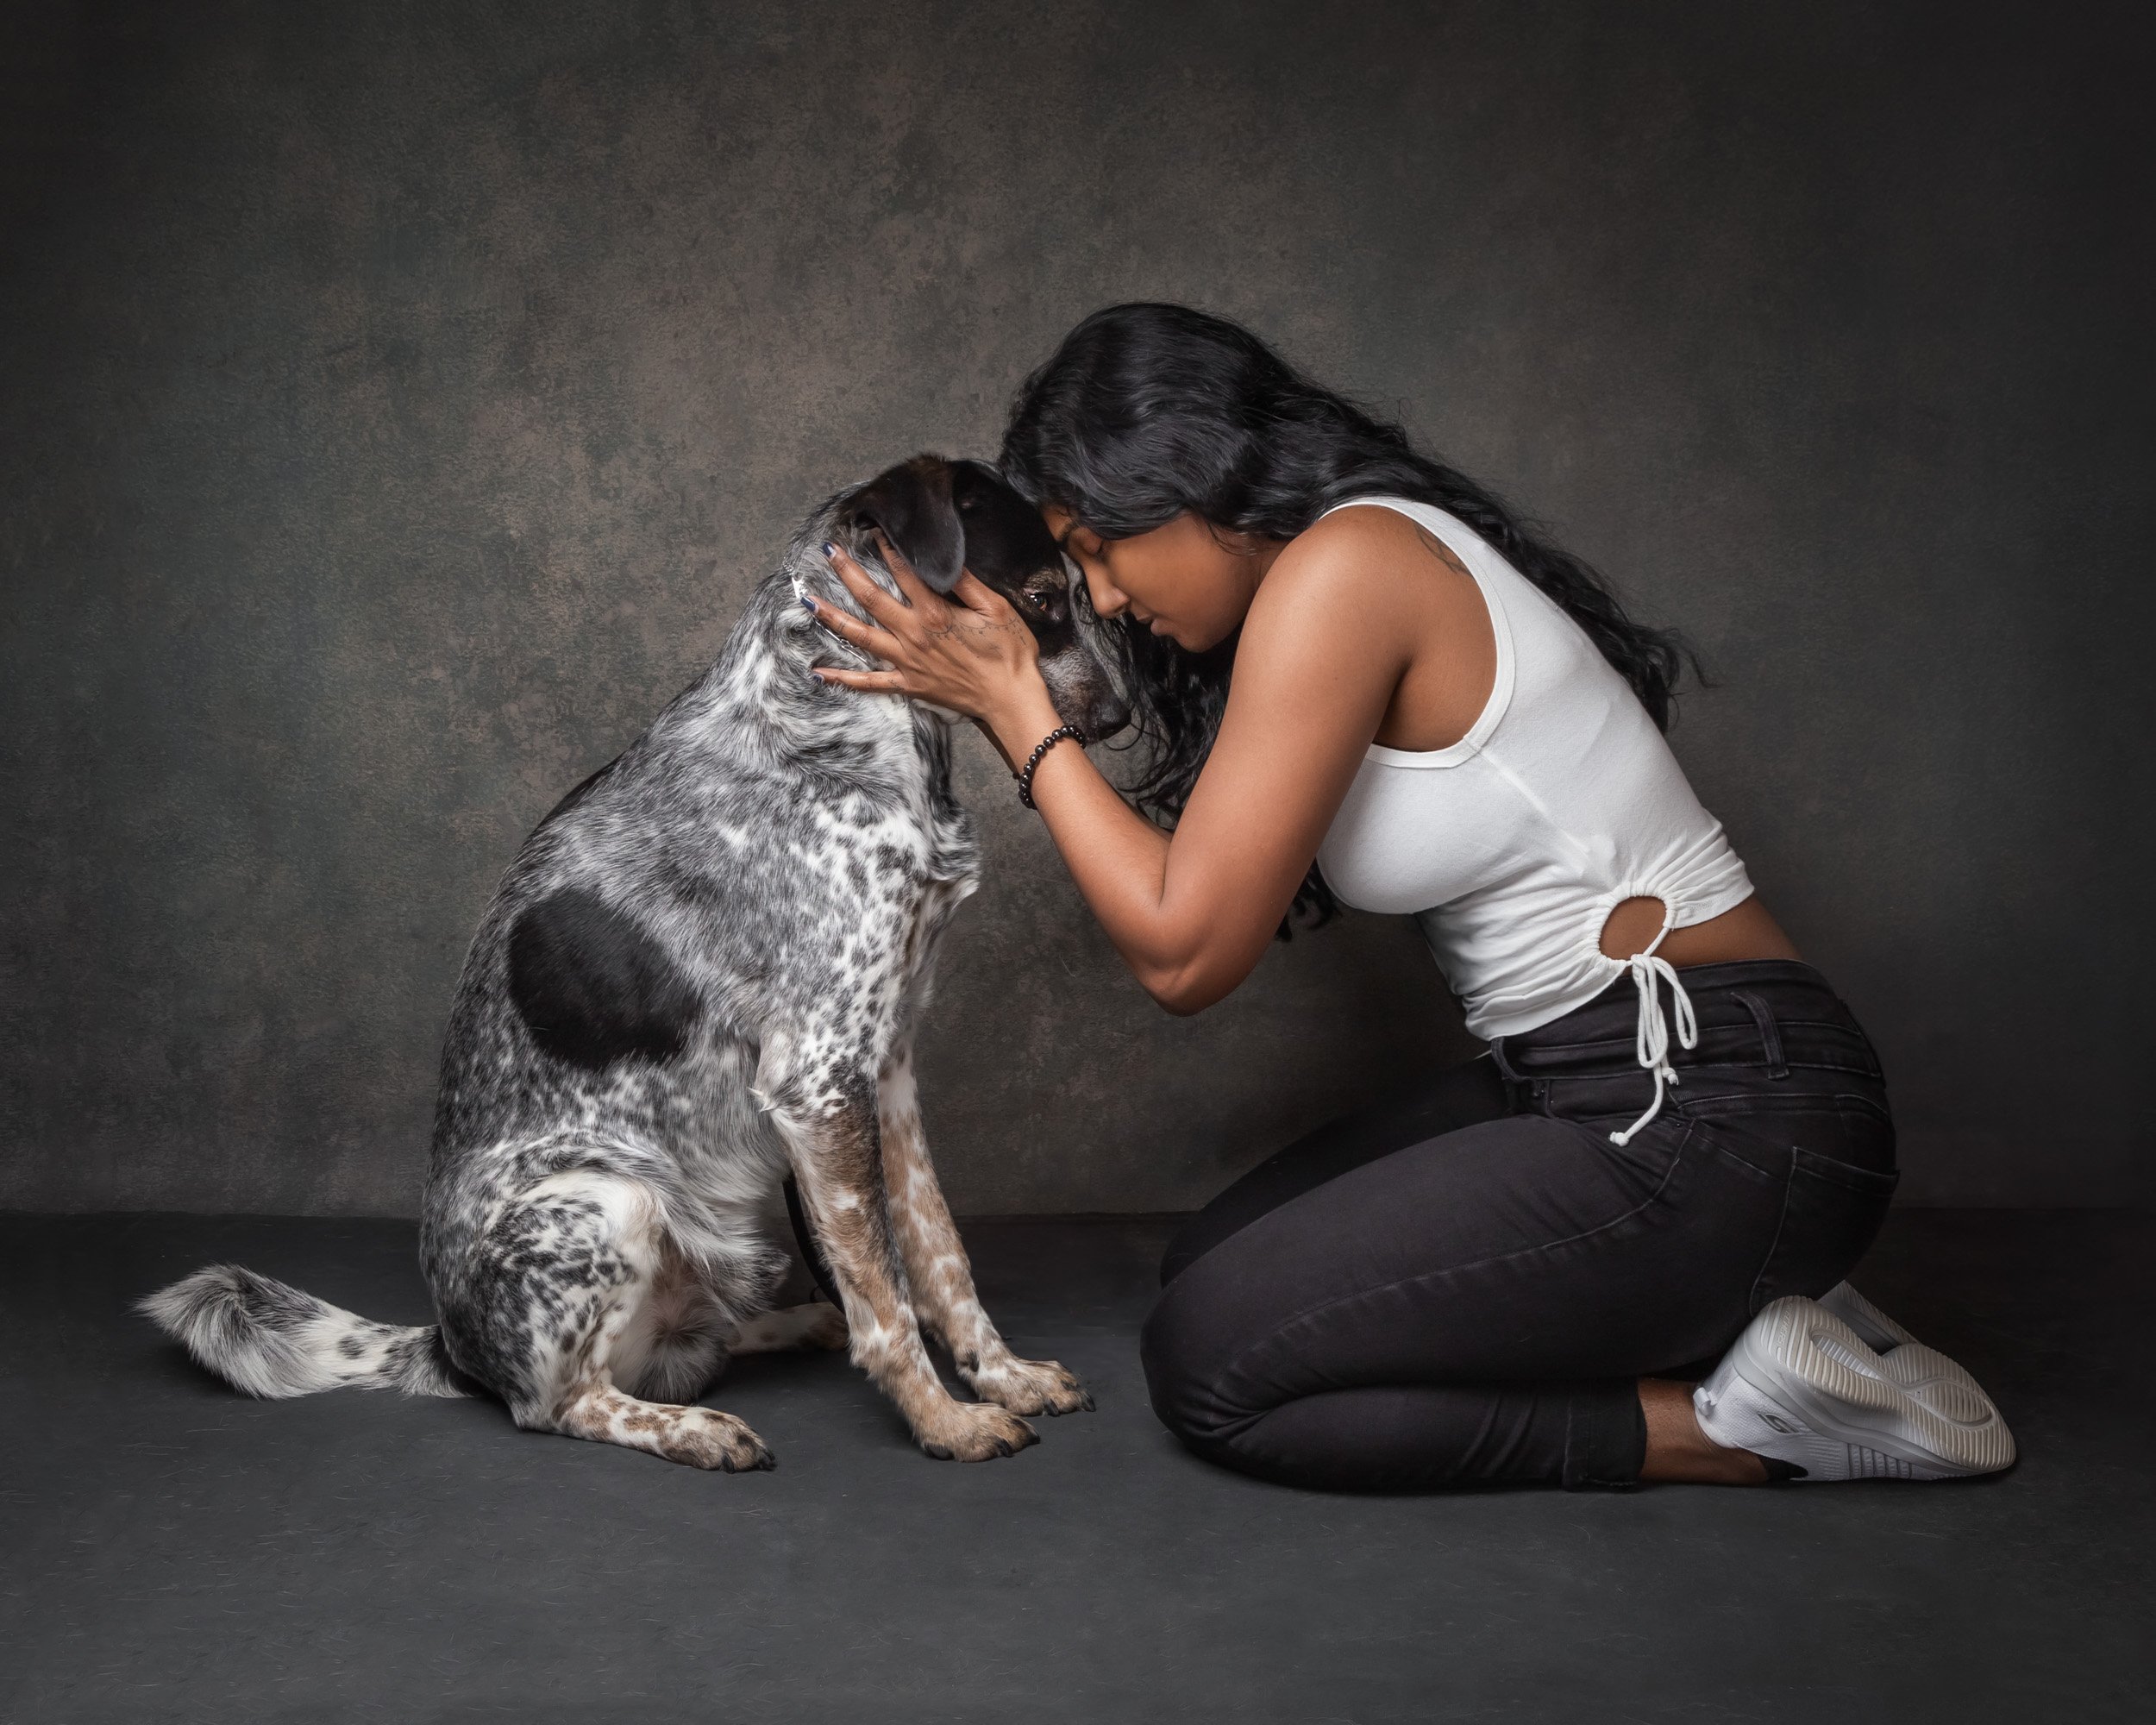
• Achieving the Soulful Look – how I guide dogs into calm, expressive portraits
• My Easy Studio Lighting Blueprint – the studio lighting setup I use for my portraits
• Studio Portrait Editing Workflow – creating wall worthy studio portraits (coming soon)